10 Things I Learned Building My Titanium Mountain Bike

Updated: Aug 28
Affiliate Disclosure: This post is unsponsored, I don't take products for free to do reviews on them. To support the studio, I use affiliate links from Amazon and eBay. If you click and purchase, I may earn a small commission at no extra cost to you.
What You Will Learn In This Post
Quick Summary / TL;DR
Custom Dream Build: A detailed account of building a custom hardtail around a USA-made Lynskey Live Wire titanium frame after a snapped aluminum frame forced a replacement.
Key Technical Lessons: Practical DIY insights covering bottom bracket spacing, 12-speed Micro Spline freehub compatibility, Magura brake setup, and titanium-safe anti-seize.
US-Made Components: A focus on high-end American parts, including Chris King, Cane Creek, Industry Nine, and Lynskey.
Real-World Refinements: Post-build lessons that led to upgrading from 27.5" to 29" wheels to eliminate pedal strikes and tweaking gearing for optimal trail performance.
What You Will Learn In This Post
Building your own custom titanium mountain bike from scratch is a super rewarding DIY project, but it definitely has its fair share of challenges. In this guide, you’ll find out why titanium is such an awesome choice for bike frames—it's tough and great at absorbing vibrations. Plus, we’ll cover the nitty-gritty of finding the right components, the specialized tools you’ll need, and how to keep your build on track.
You will discover hands-on mechanical solutions learned during the build process, including how to dial in Boost chainline spacing, navigate the jump from 11-speed to 12-speed Shimano drivetrains, and properly prep titanium threads with anti-seize. You’ll also get practical installation tips for Magura hydraulic brakes, the advantages of oval chainrings for climbing, and the benefits of supporting US component manufacturers.
Finally, the post covers essential long-term lessons and iterative upgrades. You will see why wheel size selection matters for bottom bracket clearance—specifically resolving pedal strikes by moving from 27.5" to 29" wheels—and how subsequent gearing, tire, and drivetrain adjustments brought this custom hardtail to trail perfection.
Building My Titanium Dream Mountain Bike Mainly Using American Components Was My Goal
So, I just wanted to share a little bit about my recent experience building a Lynskey titanium mountain bike. Now, I’m not claiming to be a pro bike mechanic or anything fancy like that, but I’ve definitely dabbled in bike maintenance over the years. You could say I've picked up a few tricks along the way!
Putting this bike together turned out to be quite the adventure! I mean, I had my fair share of ups and downs. There were moments when I felt like a total expert, and others when I was staring at the instructions, scratching my head and wondering if I had bitten off more than I could chew. But hey, that’s all part of the fun, right?


Why Was I Building A Titanium Mountain Bike?
So, here’s the scoop: my Ellsworth Epiphany totally snapped in half while I was riding at Fort Ord near Monterey, California. Talk about a bummer! I had to find a replacement, like, ASAP. While I was working at the Sea Otter Classic bike festival at Laguna Seca Raceway, I chatted with some vendors and found out that aluminum bikes breaking isn’t all that rare. After riding that bike hard for over six years and taking a few spills, I guess it was just a matter of time. But you know what? Even with all the awesome bikes on display at the Sea Otter, I still couldn’t find the perfect replacement. What a letdown!

Broken Bike Is A Bummer: But On The Other Hand?
I had been riding my Ellsworth for about 6 years and let me tell you, I really put it through its paces! It was an awesome ride. But you know what? When it broke in half, I saw it as the perfect excuse to snag a new mountain bike. Plus, it made it a lot easier to convince my wife! Win-win, right?
Related DIY Content
Why Did I Choose A Lynskey Live Wire To Build My Titanium Hardtail MT Bike?
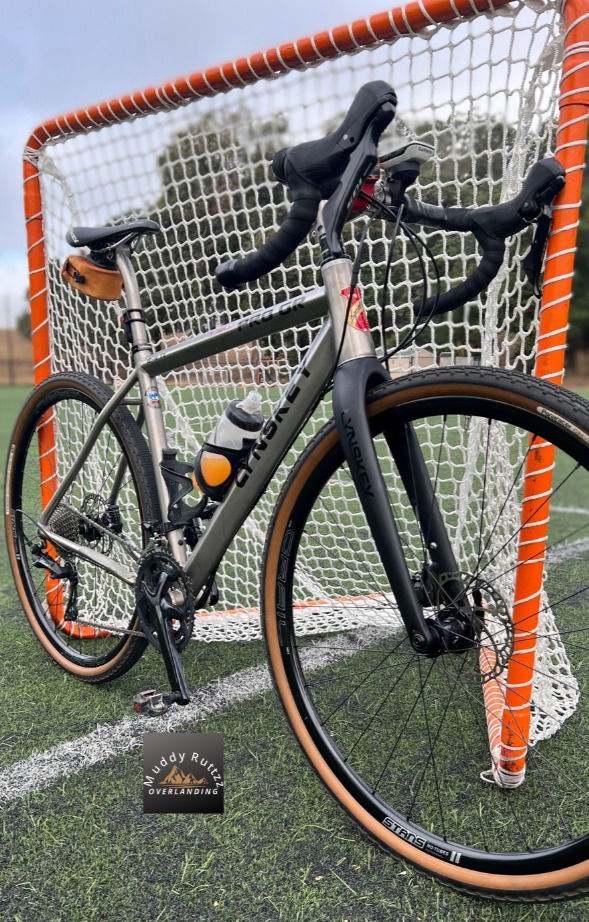
I'm a happy owner of a USA made Lynskey Pro GR Gravel Bike. The bike quickly became my favorite. Titanium bikes feel great with the ability to absorb vibration. Titanium is also extremely durable material. Lynskey makes a high quality product in the US specifically Tennessee. Of all the US made Titanium bike frames Lynskey is the most affordable with no loss in quality. Just look at the welds, absolutely beautiful. In fact Lynskey build bikes that are re-badged and sold by high end bike companies. I ordered my Live Wire frame.
Can Amateur Bike Mechanics Build Thier Own Titanium Bike?
If you have some basic bike tools and bike mechanic skills you can build your own titanium bike. The willingness to learn along the journey is the key to ending up with a great bike. Below I share what I found where the 10 most important lessons I learned.
Tip #1 - Patience Required When You Are Building A Titanium Mountain Bike
I waited 6 weeks for my Lynskey Live Wire frame after I ordered it. Titanium bikes, if your buying a frame or complete bike, are not off the shelf items. Lynskey uses a "batch" system that they say keeps costs down. That was ok because I could not afford to purchase all my parts at once. That took a couple months of buying parts with checks from the part time job at a large outdoor store.

Lynskey Signature On The Frame 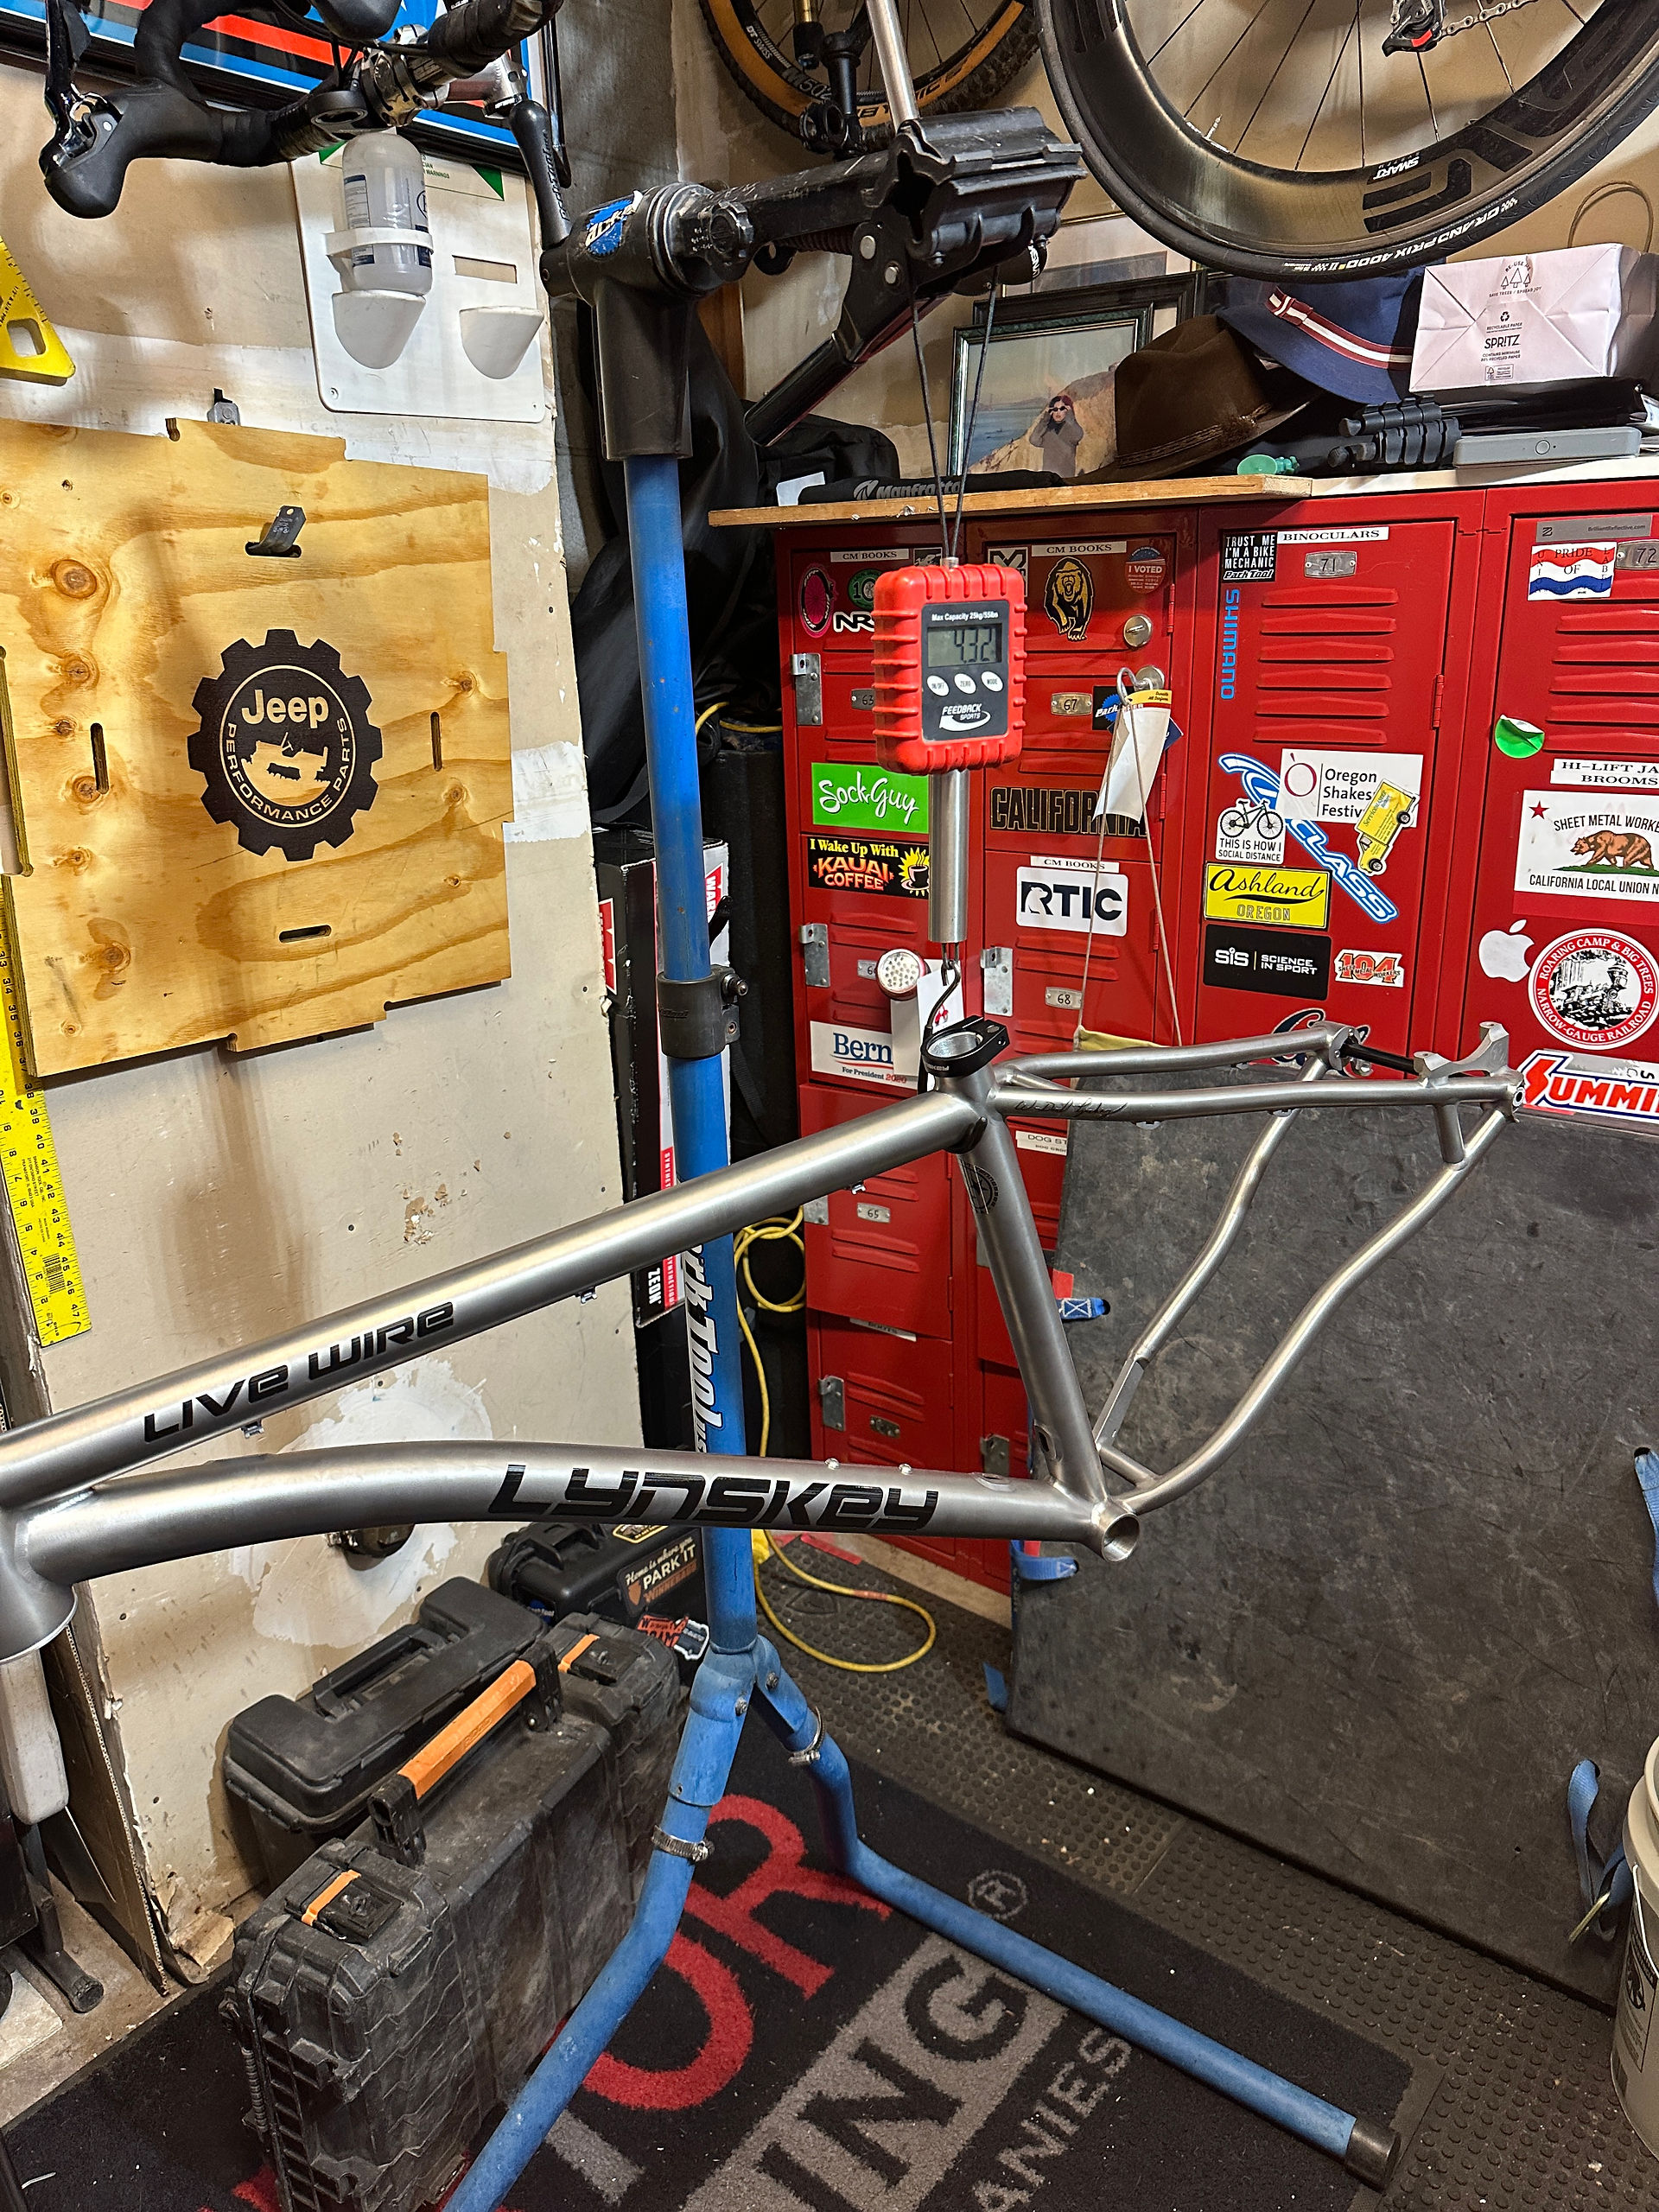
Lynskey Live Wire 4.32 LBS 
Lynskey Live Wire Unboxed 
Lynskey Live Wire Hardtail 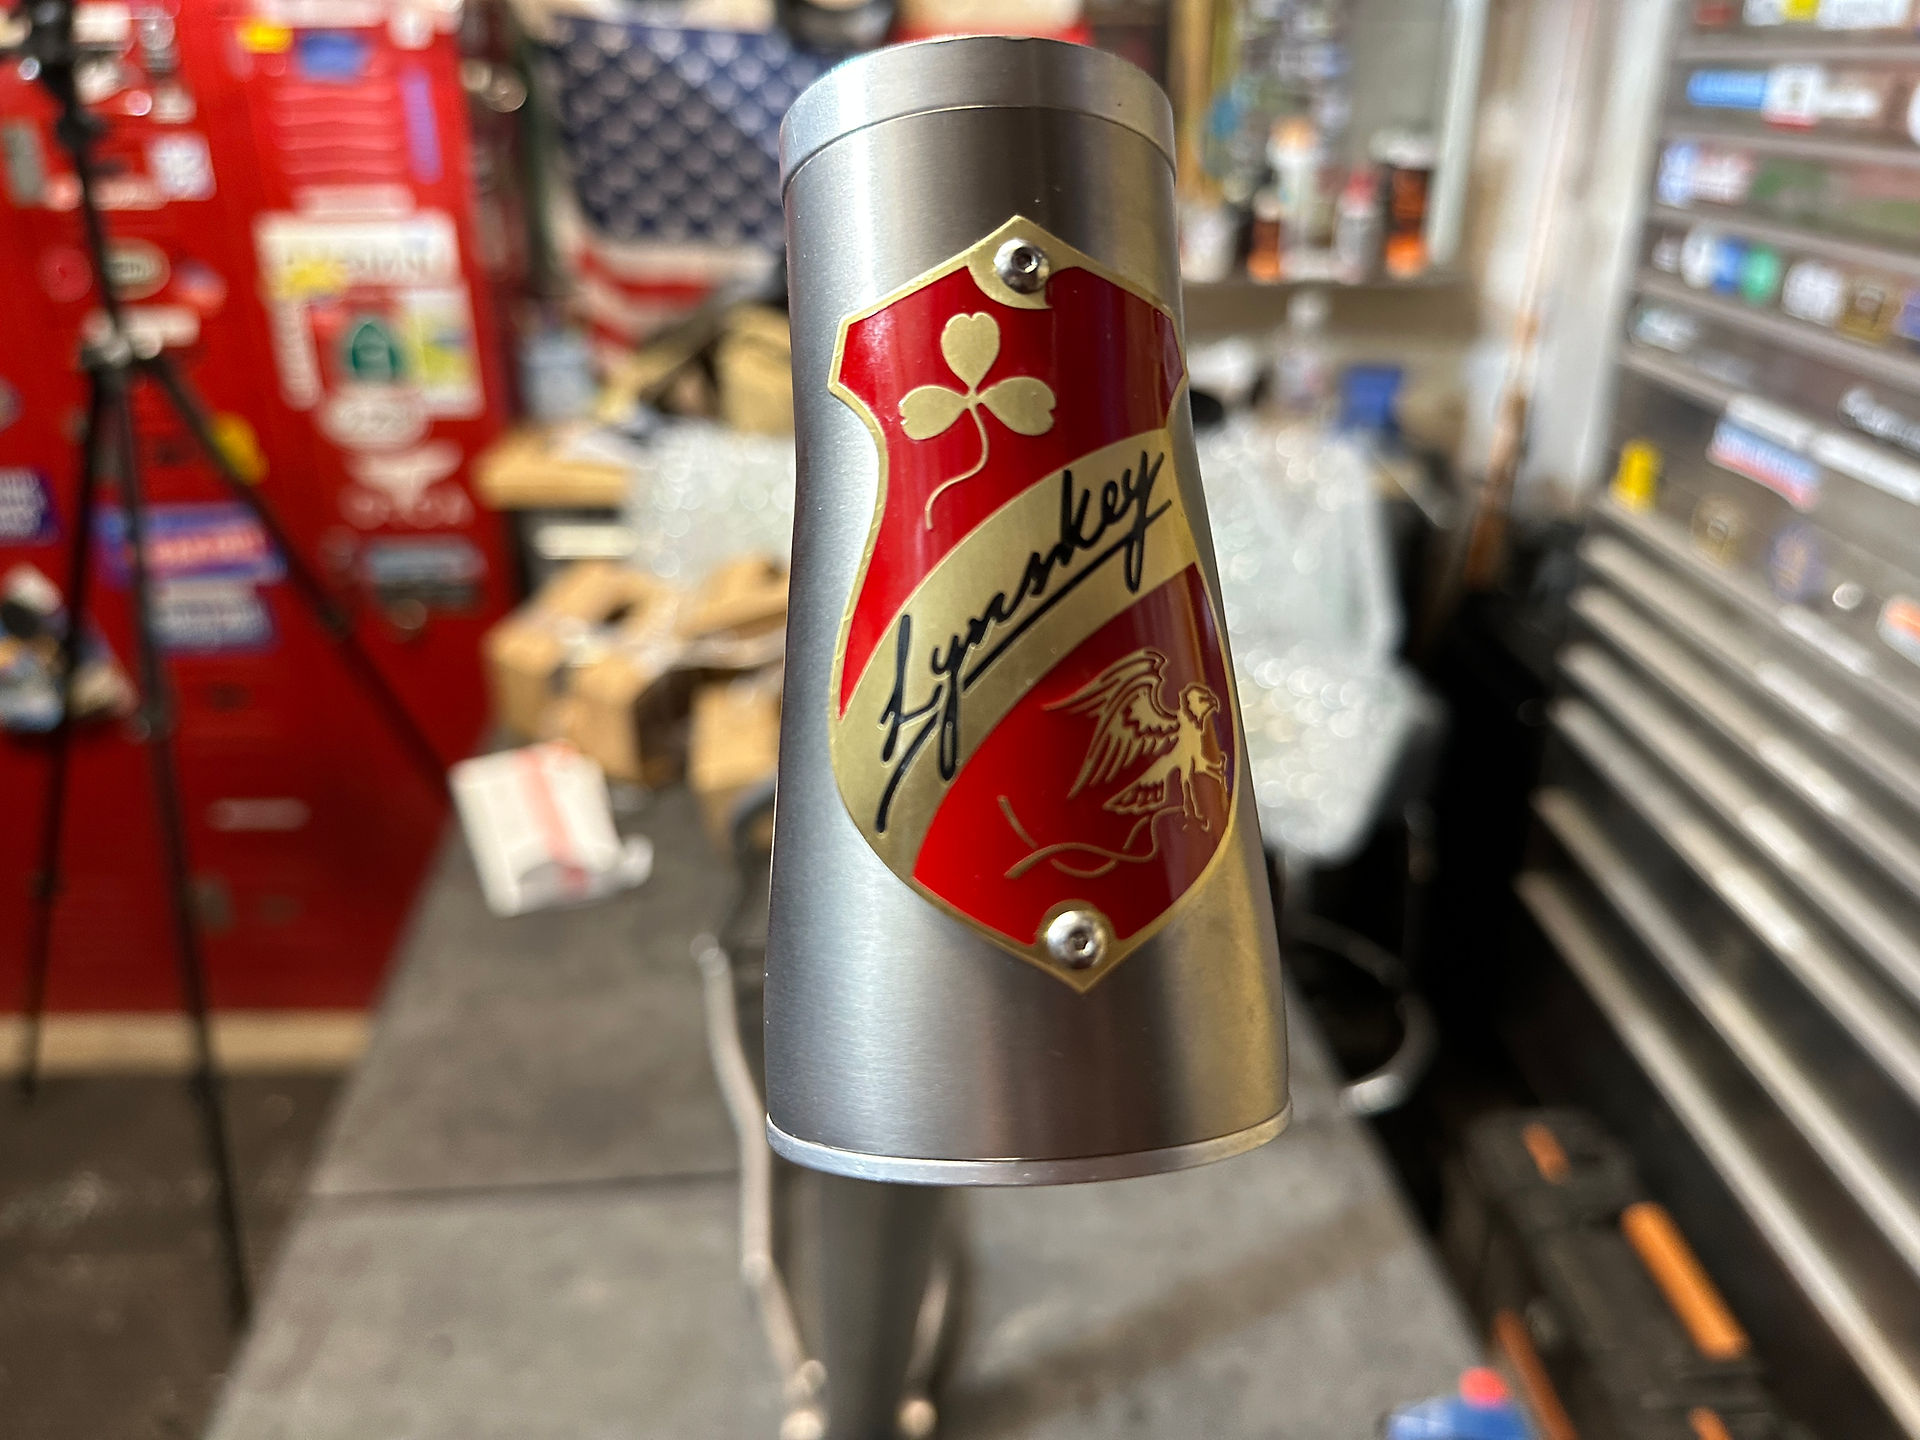
Gorgeous Lynskey Badge
Tip #2 - Swapping Parts From Broken Ellsworth To New Lynskey? - I Had To Buy A Lot Of New Parts
Start looking closely at parts on a 6 year old bike that has been ridden hard. Are they what you want when you are building a titanium mountain bike dream bike? I was able to re-use my bomb proof DT Swiss wheel set. Dropper (recently replaced) swapped over with the addition of a shim to the seat tube. Other than those 2 components all other parts were purchased new. Check your Local Bike Shop (LBS.) Prices will be competitive with online and if your amateur like me they can give you sage advice.

New Parts For The Lynskey 
New and Re-Use Parts 
New And Re-Use Parts 
New And Re-Use Parts
Tip #3 - If You Don't Own A Fair Amount Of Bicycle Tools Might Be Better To Buy A Complete Bike
I have been collecting bike tools for years ever since I bought my Rockhopper in 1985. Had almost enough build this titanium mountain bike. I had to buy 1 Chris King bottom bracket tool and it was close to $60.00. Factor in the cost of tools if your taking on a project like this. Good thing is when your done building your bike you' will know how to use them. They will save you money in the long run.


Tip #4 - Building a Titanium Bike Requires Use Of Copper Anti Seize Or Park Tool ASC-1
Lynskey sent a email letting me know that they use teflon tape and Finish Line Copper Anti Seize on the Bottom Bracket. I couldn't find it in any LBS and it was out online. Turns out Park Tool says their Anti Seize is fine to use with Titanium. I see no reason to doubt them. That is what I used.
Tip #5 - Upgrading 11 To 12 Speed Requires A Microspline Freehub
My heart sank! Installing Shimano XT 12 speed 51-10 Cassette required a different freehub. Was I needing a new wheel set? I had gotten a free DT Swiss Ratchet upgrade to my 11 speed freehub at the Sea Otter last year. That made it super easy to swap. My LBS had a DT Swiss 12 Speed Microspline Freehub in stock, $10.00 cheaper than online. They installed it for free.

Tip #6 - Bottom Brackets and Cranksets and Chainline - Its All About The Spacers
I wanted to use a Chris King Bottom Bracket and Rotor Kapic Crankset w/Oval chainring with the 73mm BSA BB on my frame. I will not try to explain Boost Chainline. I also learned from Chris King and Rotor that the suggested quantities of spacers in the manual are just that, suggestions. This is where experience would have paid off. Lynskey told me the chainring should be 52mm from center of frame. With the parts, a metric ruler, and spacers, I made it work. Correct chainline, pedals even both sides and good shifting. Took some trying but I got it done.

Chris King BB for 73 MM BSA 
Rotor Crank Chriss King BB 
Rotor Crank Arms Axle Spacers 
Chris King BB Fit Kit 
Kapic Spacer Chart Not Helpful
Tip #7 - I Chose Magura Brakes And I am Glad I Did - Magura Rotors Are Thicker And I Learned That From My LBS
Purchased my Magura Brakes online with the intention of re-using my Shimano rotors. When I visited my LBS I saw Magura Rotors on display. Maybe 6 year old rotors should be replaced. The mechanic let me know Magura brakes work best with thicker Magura Rotors. He also recommended 203mm front and back. Wow! I've been bombing down a local 2 mile downhill and the brakes are phenomenal!

Magura 20MM Rotors Installed 
New Magura 203 MM Rotors 
Magure Center Lock 203MM Rotor 
Magura Stickers Come W/Brakes
Tip #8 - Magura Brakes Are Easy To Install - Don't Be Intimidated by Having To Shorten The Hoses
Riders sometimes like to have the front brake lever on the right instead of the left. Magura have thought of this. The brake set comes with hoses long enough to set them up either way. It just requires trimming the hose and they make it easy. Everything is included and the brake spacer doubles as a block for holding the hose when you pound the fitting in. Watch the Magura video, don't be intimidated.

Tip #9 - There Are Great Bike Parts Made In the USA And I Have A Fair Number Of Them On This Bike
As I stated earlier a goal with this bike build was using as many American made parts as possible. I was pretty successful. For me I like to look at my bike and know it has some high quality USA made parts. Chris King Bottom Bracket, Cane Creek Headset, Oury Grips, Industry Nine Stem and the Lynskey frame made in Tennessee.


Tip #10 - Oval Chainrings Work - They Give Boost and Save Your Knees
After only a few rides I can safely say that the Rotor Chainring I installed is amazing. Rotor Recommends a seting to start with and there are 4 others I can try If I care to. Makes a huge difference climbing and all around riding.
List of Parts Used On This Bike Bike Build
Lynskey Live Wire Titanium Frame (USA)
Marzocchi Bomber Z1 29 Fork Matte Black, 140mm, 15x110 QR, 44mm
Cane Creek Headset Tapered 1" to 1.5" (USA)
Industry Nine 138 100mm Stem (USA)
Renthal Fatbar V2 Carbon Riser Bar
Oury Lock-On Grips Black Color (USA)
Shimano XT SL-M8100 Shifter
Shimano XT CS-M8100 12 Speed Cassette 10-51
Shimano XT RD-M8100 Rear Derailleur SGS, Long Cage, For 1X Drivetrains
Kmc X12 Ti Nitride 12 Speed Chain
Race Face Turbine R 1x Seatpost Lever
RaceFace Affect Dropper Seatpost 30.9
Problem Solvers Seatpost Shim Fits 30.9 Frame Size 31.6mm
Magura MT Trail Sport Brake Set
Magura 203mm Rotors
27.5 DT Swill M502 Wheel set w/upgraded DT Swiss Ratchet System
Schwalbe Nobby Nic 27.5 x 2.2 front and rear
Rotor Kapic Aluminum Crankset
Rotor 34 Tooth Oval Chainring
Time ATAC Pedals

Modified My Lynskey After the Initial Assembly: Pedal Strikes Resulted from Smaller 27.5 Wheels (Upgrade To Chris King 29")
Attempting to use the 27.5 DT Swiss Wheels from my previous Ellsworth bike, I faced the recommendation from Lynskey to opt for 29" or 27.5 wheels paired with Plus Size Tires. While my old wheels were 30mm wide, the switch to +size tires necessitated 35mm width. Experiencing frequent pedal strikes, I ultimately decided to invest in a set of 29" Chris King/Stan's Wheels, which successfully resolved the issue. Feel free to watch the video for more details.
Exciting News: The Lynskey Live Wire Gets Even Better with Third Round of Updates (Achieving Bicycle Perfection!)

New Parts Added:
Rotor 30 Tooth Round Chainring -Swapped out the 34 tooth Oval chainring to a 30 Tooth Round. Changing to 29" wheels altered the gear ratio and made climbing more difficult. Smaller chainring brought it back to good climbing bike.
Schwalbe Nobby Nics - Removed the heavier more durable downhill type tires and replaced them with awesome Schwalbes. They work great!
KMC DLC 12 Speed Ebike Chain - I had a KMC 12 speed chain that wore out quickly. Replaced it with a Shimano that wore quickly also. I think the angle created with a single chainring and 51 tooth cassette was wearing them out. I'm trying the more stourt KMC DLC ebike chain to see if it holds up better. That chain is also substantially more expensive.
Lynskey Saddle - I had been running my old Ellsworth Saddle. Swapped that out for a official Lynskey saddle that I had sitting in a parts bin in my garage. I love that saddle!
Can't imagine this bike getting any better!
Conclusion:
Instead of ordering a Lynskey Live Wire with the factory spec directly from the website, I chose to spend more money and gather the parts to assemble the bike myself. While this option cost me more and took longer, I achieved the exact bike I desired. Additionally, this process enabled me to learn extensively and gain the ability to handle all maintenance and upgrades independently.
This bike rides like a dreambike should. I have owned a lot of mountain bikes over the years and this is my favorite. It turned out to be awesome!
Thanks for checking out my article!
Interested in owning the best aluminum cases for delicate gear or Overlanding? Click here to See my
Support Muddy Ruttzz by using these Affiliate Links. I get a small commision if you use these links for purchases without raising the price you pay.
Bicycle Parts Available On Amazon
✅ - Chain Rings (Amazon)
✅ - KMC DLC 12 Speed Ebike Chain (Amazon)
✅ - Schwalbe Nobby Nics (Amazon)
✅ - Bike Parts Of All Types (Amazon)
✅ - Magura Brakes Huge selection (Amazon)
✅ - Marzocchi Forks, Shocks and Parts - The Bomber! (Amazon)
✅ - Chris King Hubs, Bottom Brackets, Tools USA Made! (Amazon)
✅ - Park Tool Bicycle Tools - Simply The Best! (Amazon)
Shop On eBay!

Zarges Aluminum Cases - Best Made Aluminum Storage Cases For Overlanding, Camera Gear and More.
✅ - Great Muddy Ruttzz Clothing. (designed by Muddy)
Click here to See my Zarges Blogpost.
As a Amazon Affiliate and eBay Partner I receive a commission if you use my links to purchase products. It does not raise the price you pay.

Purchase On Amazon 
Purchase On Amazon 
Purchase On Zarges Website 
Purchase Case On Zarges Websit


